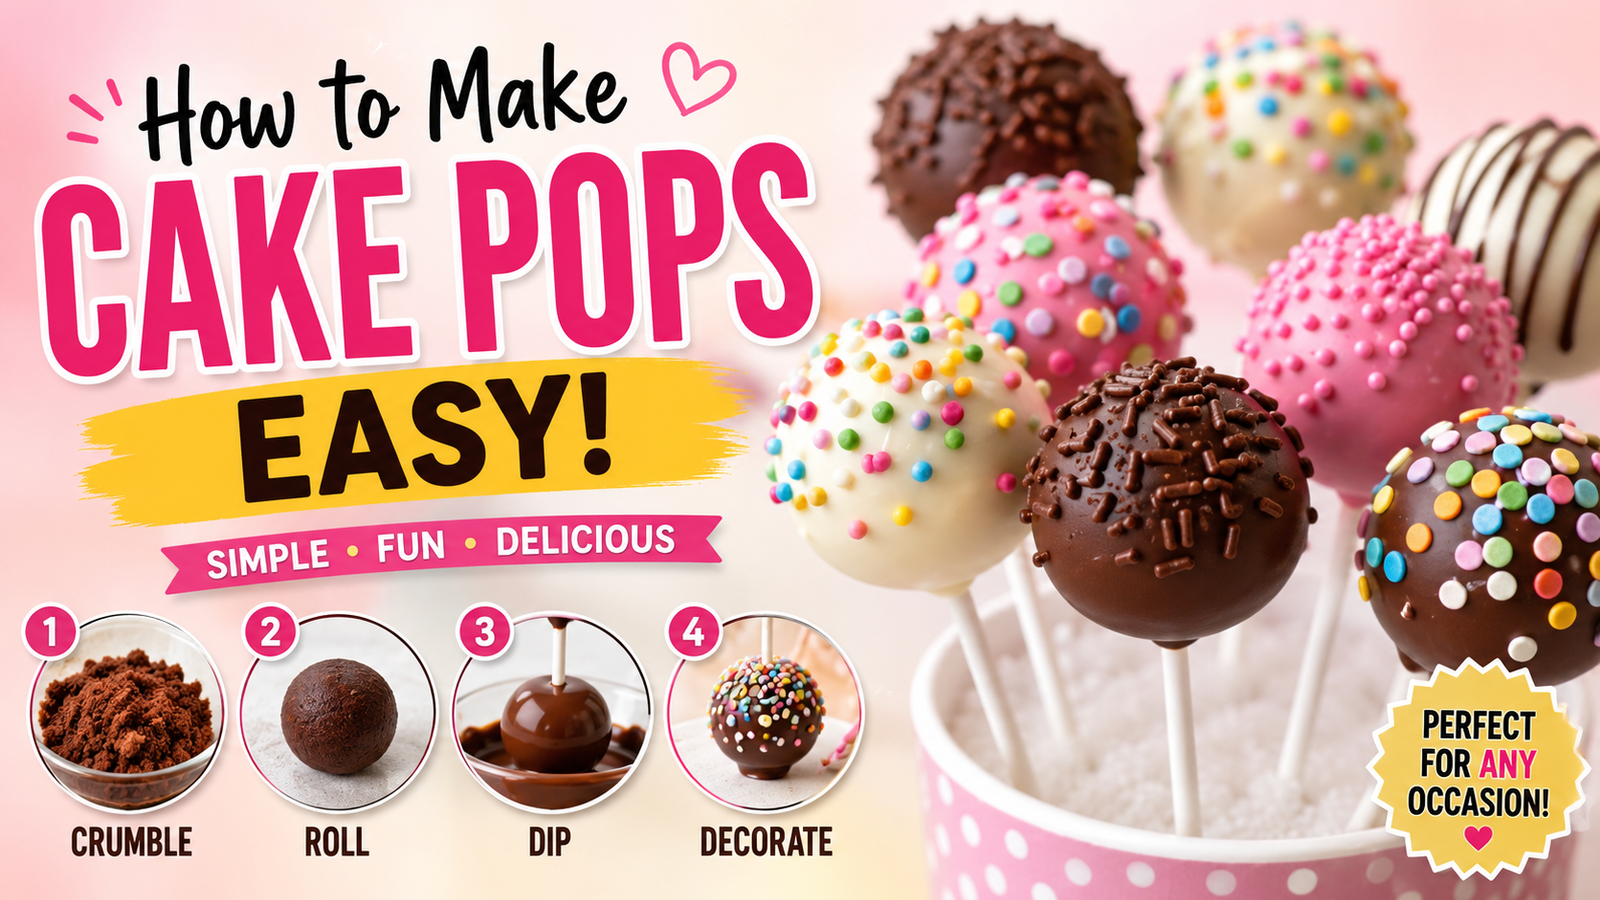
Cake pops are one of the most popular bite-sized desserts loved by both kids and adults. They are delicious, colorful, and perfect for birthdays, holidays, weddings, baby showers, or simply satisfying your sweet tooth.
The best part is that you don’t need professional baking skills to make them. If you’re wondering how to make cake pops easy, you’ve come to the right place. This complete guide will walk you through every step, from baking the cake to decorating beautiful cake pops that look bakery-quality.
What Are Cake Pops?
Cake pops are small balls of crumbled cake mixed with frosting, placed on a lollipop stick, and coated in melted chocolate or candy melts. They combine the soft texture of cake with a crunchy chocolate shell, making them an irresistible dessert.
Cake pops became incredibly popular because they are:
- Easy to eat
- Portable
- Great for parties
- Highly customizable
- Fun to decorate
Why You’ll Love This Easy Cake Pop Recipe
This beginner-friendly recipe offers many advantages:
- Requires simple ingredients
- Perfect for first-time bakers
- Budget-friendly
- Great family activity
- Easy to customize
- Can be prepared ahead of time
- Ideal for gifts and celebrations
Ingredients You’ll Need
For the Cake
- 1 box cake mix (or homemade cake)
- Eggs (according to package instructions)
- Vegetable oil
- Water
For the Frosting
- ½ cup vanilla frosting
You can also use:
- Chocolate frosting
- Cream cheese frosting
- Buttercream frosting
For Coating
- 12 ounces candy melts
- White chocolate
- Milk chocolate
- Dark chocolate
Additional Supplies
- Lollipop sticks
- Styrofoam block or cake pop stand
- Mixing bowl
- Spoon
- Baking tray
- Microwave-safe bowl
- Parchment paper
Step 1: Bake the Cake
Prepare the cake according to the package instructions.
Bake until a toothpick inserted into the center comes out clean.
Allow the cake to cool completely before moving on.
Tip: Warm cake will make sticky cake pops.
Step 2: Crumble the Cake
Break the cooled cake into small crumbs using your hands.
Continue until there are no large pieces remaining.
The texture should resemble fine breadcrumbs.
Step 3: Add Frosting
Add frosting little by little.
Start with about ½ cup.
Mix thoroughly until the cake resembles cookie dough.
Avoid adding too much frosting.
The mixture should hold together when squeezed.
Step 4: Roll Cake Balls
Using a cookie scoop or tablespoon, scoop equal portions.
Roll each portion into smooth balls.
Aim for approximately 1 inch in diameter.
Place them on a baking sheet lined with parchment paper.
Step 5: Chill
Refrigerate the cake balls for:
- 1–2 hours
Or freeze for:
- 20–30 minutes
Chilled cake balls are much easier to coat.
Step 6: Melt the Candy Melts
Microwave candy melts in 30-second intervals.
Stir after every interval.
Continue until smooth.
If too thick, add:
- 1 teaspoon vegetable oil
- or coconut oil
This creates a smoother coating.
Step 7: Insert Lollipop Sticks
Dip the tip of each stick into melted chocolate.
Insert halfway into each cake ball.
This helps keep the cake pop from falling off.
Freeze again for 10 minutes.
Step 8: Dip the Cake Pops
Hold the stick carefully.
Dip each cake pop completely into the melted chocolate.
Rotate gently.
Avoid stirring aggressively.
Tap lightly against the bowl to remove excess coating.
Step 9: Decorate
Before the coating hardens, decorate with:
- Rainbow sprinkles
- Chocolate drizzle
- Colored sugar
- Crushed cookies
- Mini candies
- Edible glitter
- Coconut flakes
- Chopped nuts
Step 10: Let Them Set
Place cake pops upright in:
- Styrofoam block
- Cake pop stand
- Upside-down colander
Allow the chocolate coating to harden completely.
Best Cake Flavors
Some popular cake flavors include:
- Vanilla
- Chocolate
- Red Velvet
- Lemon
- Strawberry
- Funfetti
- Carrot Cake
- Coffee Cake
Best Frosting Choices
You can pair your cake with:
- Vanilla Buttercream
- Chocolate Buttercream
- Cream Cheese Frosting
- Peanut Butter Frosting
- Cookies and Cream Frosting
Decoration Ideas
Decorate according to the occasion.
Birthday
- Rainbow sprinkles
- Colorful drizzle
Christmas
- Red and green sprinkles
- Snowflake decorations
Halloween
- Orange coating
- Candy eyes
Valentine’s Day
- Pink chocolate
- Heart sprinkles
Baby Shower
- Blue or pink candy melts
Common Mistakes to Avoid
Using Warm Cake
Always let the cake cool completely.
Too Much Frosting
Excess frosting creates soft cake balls that fall apart.
Thick Chocolate
Thin it with a little vegetable oil if necessary.
Skipping Chilling
Cold cake balls hold their shape much better.
Overheating Chocolate
Heat slowly to avoid burning.
Tips for Perfect Cake Pops
- Use fresh cake.
- Chill before dipping.
- Work in small batches.
- Keep chocolate warm.
- Use quality candy melts.
- Roll smooth cake balls.
- Tap gently after dipping.
- Decorate immediately.
How to Store Cake Pops
Room Temperature
2–3 days
Refrigerator
1 week
Freezer
Up to 2 months
Store them in an airtight container.
Can You Freeze Cake Pops?
Yes.
Wrap each cake pop individually with plastic wrap.
Place inside an airtight freezer container.
Thaw overnight in the refrigerator before serving.
Nutrition Information (Approximate Per Cake Pop)
- Calories: 170
- Carbohydrates: 22g
- Protein: 2g
- Fat: 8g
- Sugar: 16g
Nutrition varies depending on ingredients.
Frequently Asked Questions (FAQs)
Can I make cake pops without candy melts?
Yes. You can use melted white chocolate, milk chocolate, or dark chocolate.
Why are my cake pops falling off the stick?
Usually because:
- Too much frosting
- Cake balls aren’t chilled
- Chocolate is too heavy
- Stick wasn’t dipped in chocolate first
Can I use homemade cake?
Absolutely. Homemade cake works just as well as boxed cake mix.
How long do cake pops last?
- Room temperature: 2–3 days
- Refrigerator: Up to 1 week
- Freezer: Up to 2 months
Can kids help make cake pops?
Yes! Kids can roll the cake balls and decorate them with sprinkles. Adult supervision is recommended when melting chocolate.
Final Thoughts
Learning how to make cake pops easy is a fun and rewarding baking project for beginners. With just a few simple ingredients—cake, frosting, chocolate coating, and decorations—you can create beautiful treats for any occasion.
The key to perfect cake pops is allowing the cake to cool completely, using the right amount of frosting, chilling the cake balls before dipping, and decorating while the coating is still wet. Whether you’re making them for birthdays, holidays, parties, or simply as a sweet snack, these easy cake pops are sure to impress family and friends.
Try experimenting with different cake flavors, frosting combinations, and festive decorations to create your own unique cake pop creations. Once you’ve mastered the basics, you’ll find that making cake pops is both enjoyable and endlessly customizable.